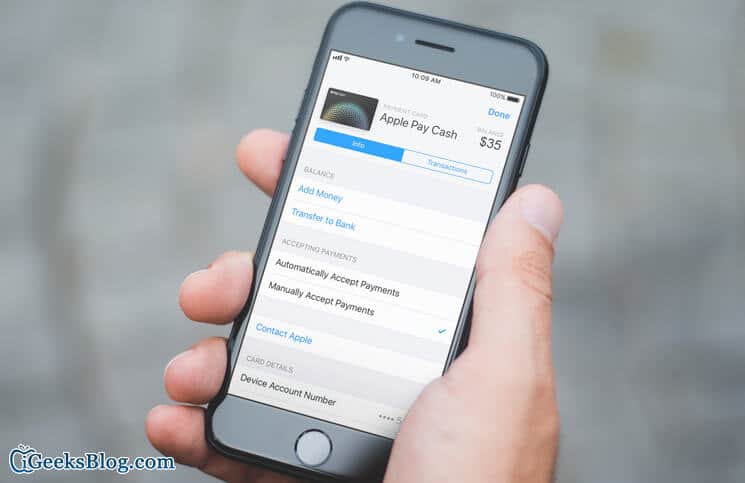
Whenever you receive Apple Pay Cash, it’s automatically stored in Apple Pay Cash. The first time you use the P2P money transfer; you have to manually accept the money within seven days. Once you have accepted the terms and conditions, payments will be accepted and kept to your Apple Pay Cash automatically. But if you happen to change your mind later and wish to manually accept Apple Pay Cash on your iPhone and iPad, there is a way to change the setting.
Apple provides you the needed freedom to choose whether to automatically accept payments or not. Read on to know how it works:
How to Accept Apple Pay Cash on iPhone and iPad Manually
On your iPhone:
Step #1. Launch Wallet app on your iPhone → Tap on your Apple Pay Cash card.Next, tap on “i” button.
On your iPad:
Step #1. Launch Settings app on your iPad → Tap on Wallet & Apple Pay and then tap your Apple Pay Cash card.
Note: For your Apple Watch, you need to use the steps for your iPhone.
Step #2. Now, you need to tap on the Info tab.
Step #3. Now, tap on Manually Accept Payments.
Going forward, if someone sends you money, you will see an Accept button in the message. Tap on it to accept the money. You need to accept the money within seven days.
Alternately, you can go to your card info>tap the Transactions tab → locate the payment. Tap the payment and then tap on Accept.
If you want to reject the payment, head over to your card info → tap the Transactions tab and locate the payment. Tap the payment and then tap Reject Payment.
That’s all folks!
Wrapping up:
The addition of peer-to-peer money transfer has further enhanced the reputation of iMessage. What’s your thought about it? Share it in the comments below.
Take a peek at these posts as well:


No comments:
Post a Comment